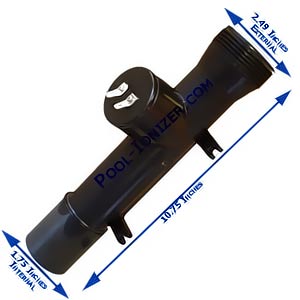
- Disconnect the power to your filtration system and to the Power Ionizer.
- Plug the openings to your filter system at the skimmer and return port so you will not lose water from your swimming pool.
- Unscrew the union connecting the Power Ionizer Replacement Chamber to your filter system. Also, remove the fitting from the other side of your chamber that is attached to the return hose.
- Slide off the connectors on the replacement chamber from the back of the Power Ionizer.
- Remove the four mounting screws that are securing the replacement chamber to the Power Ionizer. As you separate the replacement chamber from the power ionizer be careful to unplug the temperature sensor from the chamber.
- Now install the new Power Ionizer Replacement Chamber by reversing the above process. Be sure to press the grommet, which is securing the temperature sensor, firmly into place prior to replacing the four mounting screws. Also, the connectors to the replacement chamber are not polarized so it does not matter which wire goes to which terminal, as long as they are firmly connected when you are finished.
- When you reattach the power ionizer to your filter, be sure to install the gasket between the union faces and you will probably need to apply fresh Teflon tape to the fitting attached to the return hose before screwing it into the new Replacement Chamber.
- Once the Power Ionizer has been reassembled to your filter system, remove the plugs from your skimmer and return ports and restore power to your Power Ionizer and filtration systems.

